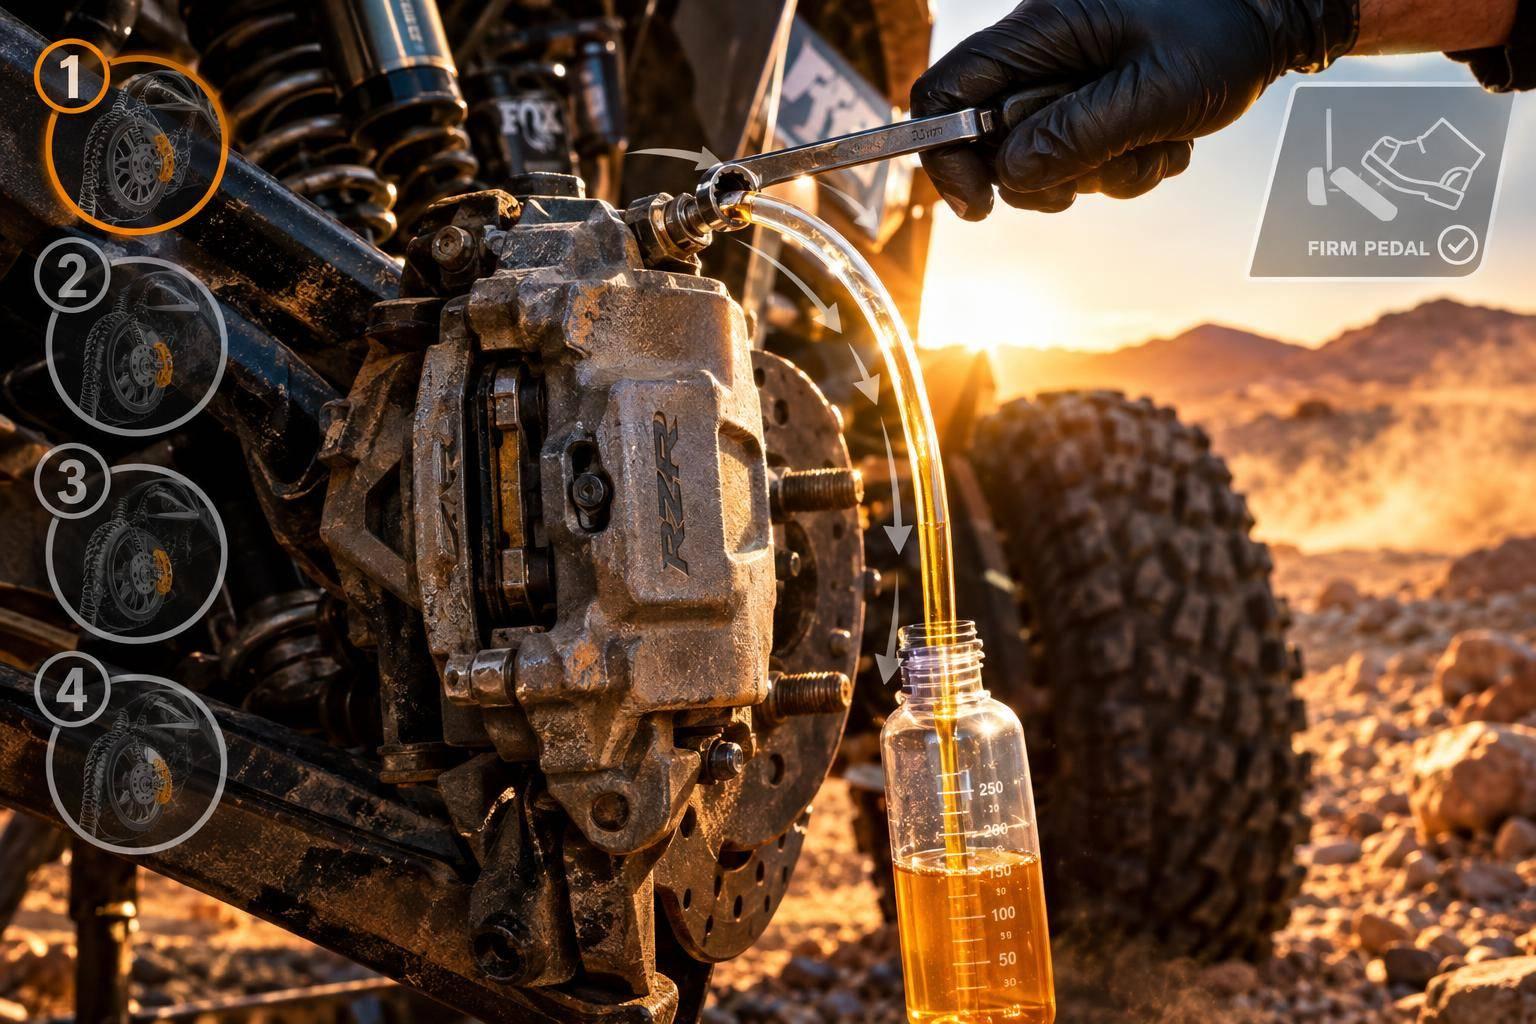
I bleed off-road brakes after opening hydraulic lines or replacing brake parts – and I don’t drive until the pedal is firm and the system is leak-free. I follow the vehicle’s specified wheel order, use the required fluid, and keep the reservoir above MIN.
Here’s my checklist:
- Prepare: Support the vehicle on jack stands, protect painted surfaces, and fix leaks or damaged parts first.
- Check clearance: Make sure brake hoses and ABS wires don’t stretch, bind, or rub through full suspension travel and steering movement.
- Choose a method: Use two-person pump-and-hold or a vacuum bleeder, following the vehicle’s service procedure and any ABS bleed requirements.
- Verify the result: Check pedal feel, fluid level, fittings, and hose routing before a controlled low-speed test.
<u>A soft, low, or sinking pedal means I stop and diagnose the problem – not head onto the road or trail.</u>
How to Bleed Off-Road Brakes Safely
2. Inspect the Brakes and Confirm Bleed Order
Check Brake Parts and Hose Clearance
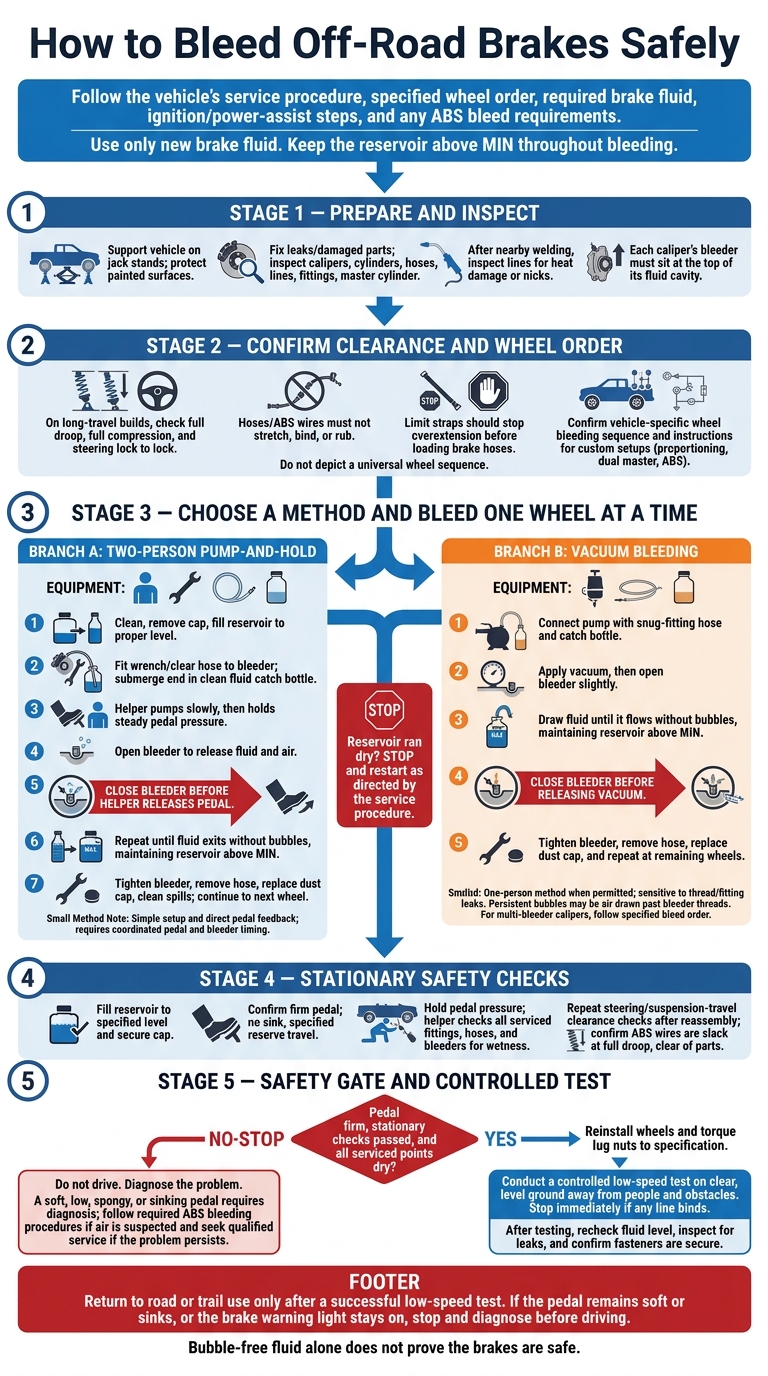
Fix leaks or damage before bleeding. Inspect the calipers, wheel cylinders, hoses, hard lines, fittings, reservoir, and master cylinder. If welding or fabrication took place nearby, check the lines for heat damage or nicks. Each caliper’s bleeder must sit at the top of the fluid cavity. Swapping the left and right calipers can leave air trapped inside.
On long-travel builds, including LSK Suspension setups, cycle the suspension through full droop and full compression, then turn the steering lock to lock. Confirm that the hoses stay properly routed and the bleeders remain accessible. Check for hose contact with suspension arms, shock reservoirs, spindles, shock towers, and ABS sensor lines. Also check the ABS sensor lines for tension. Limit straps should stop overextension before it puts a load on the brake hoses.
Confirm the Wheel Bleeding Sequence
Verify the correct wheel bleeding order before you start. For custom brake plumbing, first check the instructions for proportioning valves, dual master cylinders, and remote reservoirs. If the vehicle has ABS, follow its required service procedure before completing the bleed.
Once you’ve confirmed the sequence, choose your bleeding method.
Compare Two-Person and Vacuum Bleeding
Use the method that fits the service procedure and whether you have someone to help.
| Method | Required equipment | Advantages | Limitations | Best use case |
|---|---|---|---|---|
| Two-person pump-and-hold | Helper, wrench, clear hose, catch bottle | Simple setup and direct pedal feedback | Requires coordinated pedal and bleeder timing | Service with a helper available |
| Vacuum bleeding | Vacuum bleeder, snug hose connection, catch bottle | One-person bleeding | More sensitive to thread and fitting leaks | Solo service when allowed by the service procedure |
Use your chosen method on one corner at a time.
sbb-itb-afc4690
How To Flush & Bleed Your UTV Brakes
3. Bleed the Brakes Step by Step
Choose a method below and follow your service manual’s bleed procedure, wheel order, and ignition/power-assist steps. Keep the reservoir above MIN and use only new brake fluid. If the reservoir runs dry, stop and restart as directed by the service procedure.
Work one wheel at a time. Use the same confirmed wheel order for either method.
Bleed with a Helper
Clean around the reservoir, remove the cap, and fill it to the proper level. Fit a wrench and clear hose to the first bleeder. Submerge the other end of the hose in a catch bottle containing clean brake fluid.
Ask your helper to pump the pedal slowly, then hold steady pressure. Open the bleeder to let fluid and air escape. Close it before your helper releases the pedal. Repeat until the fluid comes out without bubbles.
Tighten the bleeder, remove the hose, and put the dust cap back on. Clean up any spills before moving to the next wheel.
Bleed with a Vacuum Pump
Connect the vacuum pump using a snug-fitting hose and catch bottle. Apply vacuum, then open the bleeder slightly. Draw fluid through until it flows without bubbles.
If the caliper has multiple bleeders, follow its specified bleed order. Bubbles that won’t stop may be caused by air being drawn past the bleeder threads.
Close the bleeder before releasing the vacuum. Then tighten it, remove the hose, and put the dust cap back on. Repeat at the remaining wheels in the confirmed order.
4. Troubleshoot and Check Pedal Feel
After bleeding all wheels, check pedal feel before driving.
Find the Cause of a Soft or Low Pedal
Do not drive with a spongy, low, or sinking pedal. Check for a low reservoir, vacuum leaks, or trapped air. If pumping makes the pedal firmer or the pedal slowly sinks, diagnose the system rather than bleeding it again.
If you suspect air in the ABS, follow the required ABS bleed procedure. Get qualified service if the problem persists.
Check for a Firm Pedal and Leaks
Fill the reservoir to the specified level and secure the cap. Confirm that the pedal feels firm, doesn’t sink, and has the specified reserve travel. While holding the pedal, have a helper check serviced fittings, hoses, and bleeders for wetness.
On long-travel builds, repeat the steering and suspension travel check after reassembly. Make sure the lines stay clear and nothing shifted during bleeding.
Test the Brakes at Low Speed
Start a controlled low-speed test only if the pedal is firm and all serviced points are dry.
Reinstall the wheels and torque the lug nuts to spec. Test only after all stationary checks pass. Drive slowly on clear, level ground, away from people and obstacles. Stop immediately if any line binds. After the test, recheck the fluid level and inspect for leaks.
5. Conclusion: Confirm Safe Brake Operation
After the final bleed and low-speed test, check that all fasteners are secure, brake line fittings are dry, hoses have clearance throughout the suspension’s full travel, and the pedal feels firm at rest.
On long-travel builds, also check that ABS sensor wires remain slack at full droop and stay clear of suspension parts.
Return to road or trail use only after a successful low-speed test. If the pedal still feels soft or sinks, or the brake warning light stays on, stop and diagnose the system before driving.
FAQs
Which brake fluid should I use for off-roading?
Check your vehicle’s owner’s manual for the manufacturer-specified brake fluid type, such as DOT 3 or DOT 4. Choose a high-quality fluid with high dry and wet boiling points to help prevent brake fade in demanding desert conditions or technical terrain.
Use new, uncontaminated fluid. Brake fluid absorbs moisture over time, which can lower its boiling point and affect pedal feel.
Does my ABS system need a scan tool for bleeding?
It depends on your vehicle manufacturer’s requirements. Check your vehicle’s service manual: many modern ABS units need a scan tool to cycle the internal valves and release trapped air. Others can be bled using manual or vacuum methods.
Why is my brake pedal still soft after bleeding?
A soft brake pedal after bleeding points to air still trapped in the hydraulic lines. The longer brake lines used on off-road builds, including those with LSK Suspension long travel kits, give air pockets more places to hide.
Bleed the system thoroughly to remove all air bubbles. Check that every fitting is tight, and confirm the master cylinder reservoir never ran dry during bleeding.
Leave a Reply