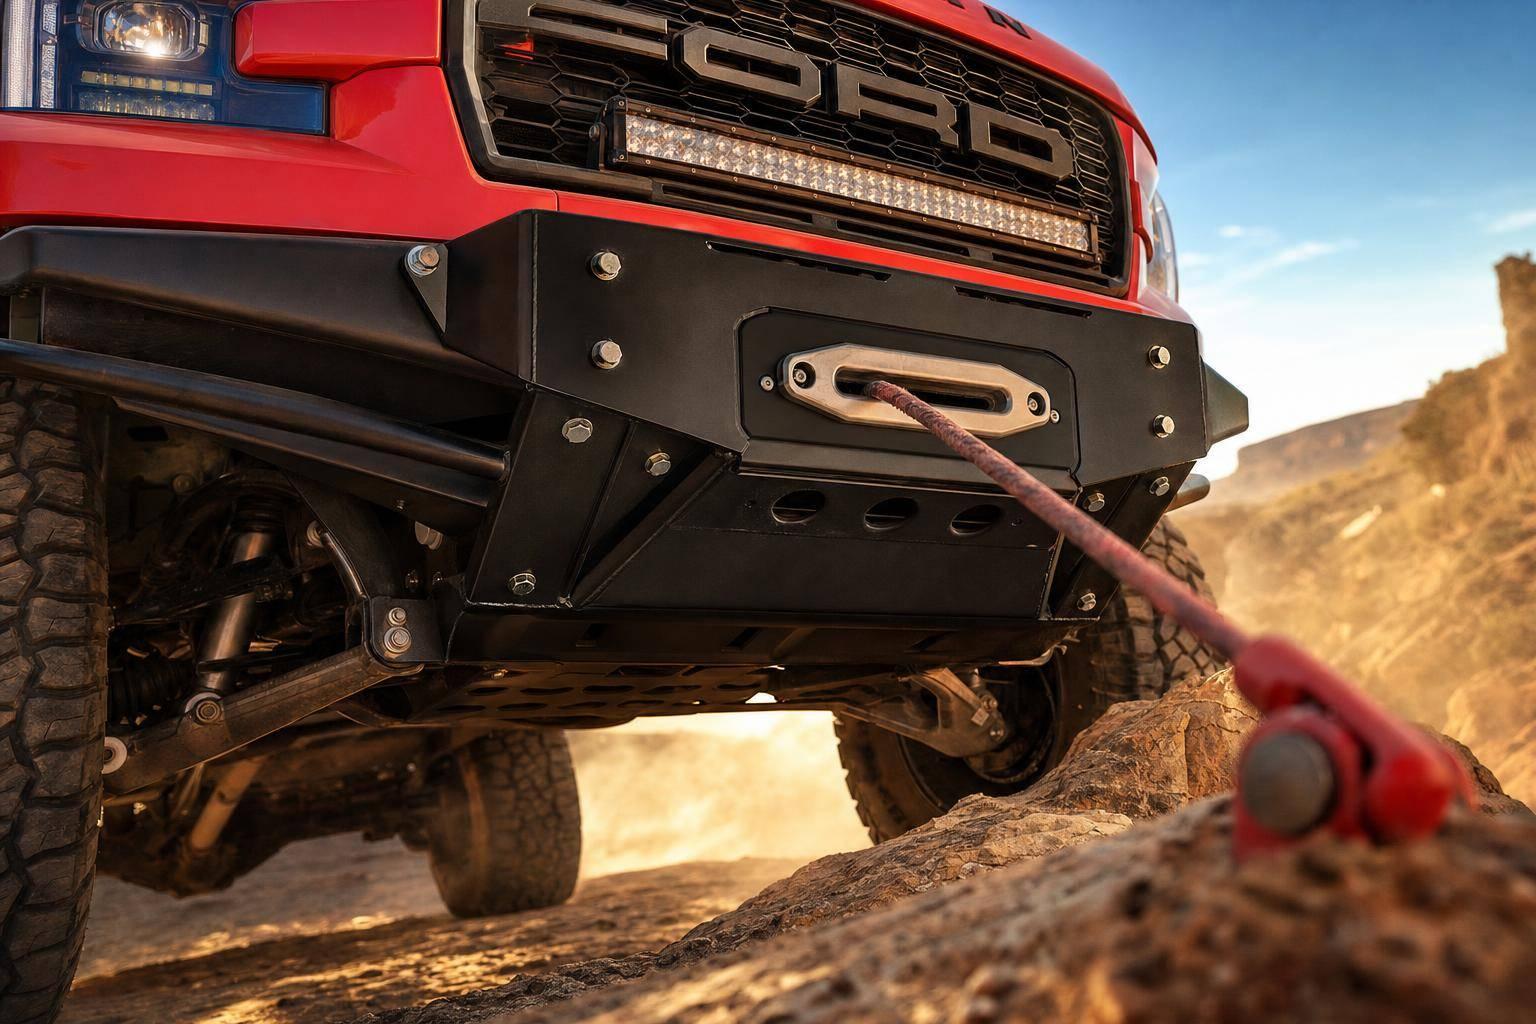
A DIY winch mount plate only works if it sends the load into the frame, keeps the fairlead lined up, and stays flat under pull. If I build one, I need at least 3/16-inch steel plate, Grade 8 bolts, clean frame tie-ins, and careful fit checks before any hard pull.
Here’s the short version:
- I mount the plate to the frame rails or another strong structural member
- I use plate brackets to spread load across the frame
- I lay out the centerline, winch bolt pattern, and fairlead slot before cutting
- I cut, drill, and test-fit the winch before finish welding
- I check bumper, grille, steering, suspension, hoses, and ABS line clearance
- I do a light test pull first, then re-torque all hardware
A few numbers matter here:
- 3/16-inch steel is the minimum plate thickness noted in the source
- A winch mount can see thousands of pounds of pulling force
- If the fairlead is off-center by even a small amount, the rope path can track badly and wear faster
This is fabrication work, not a simple parts swap. I’d treat the layout, welds, and frame tie-ins as the whole job – not just the plate itself.
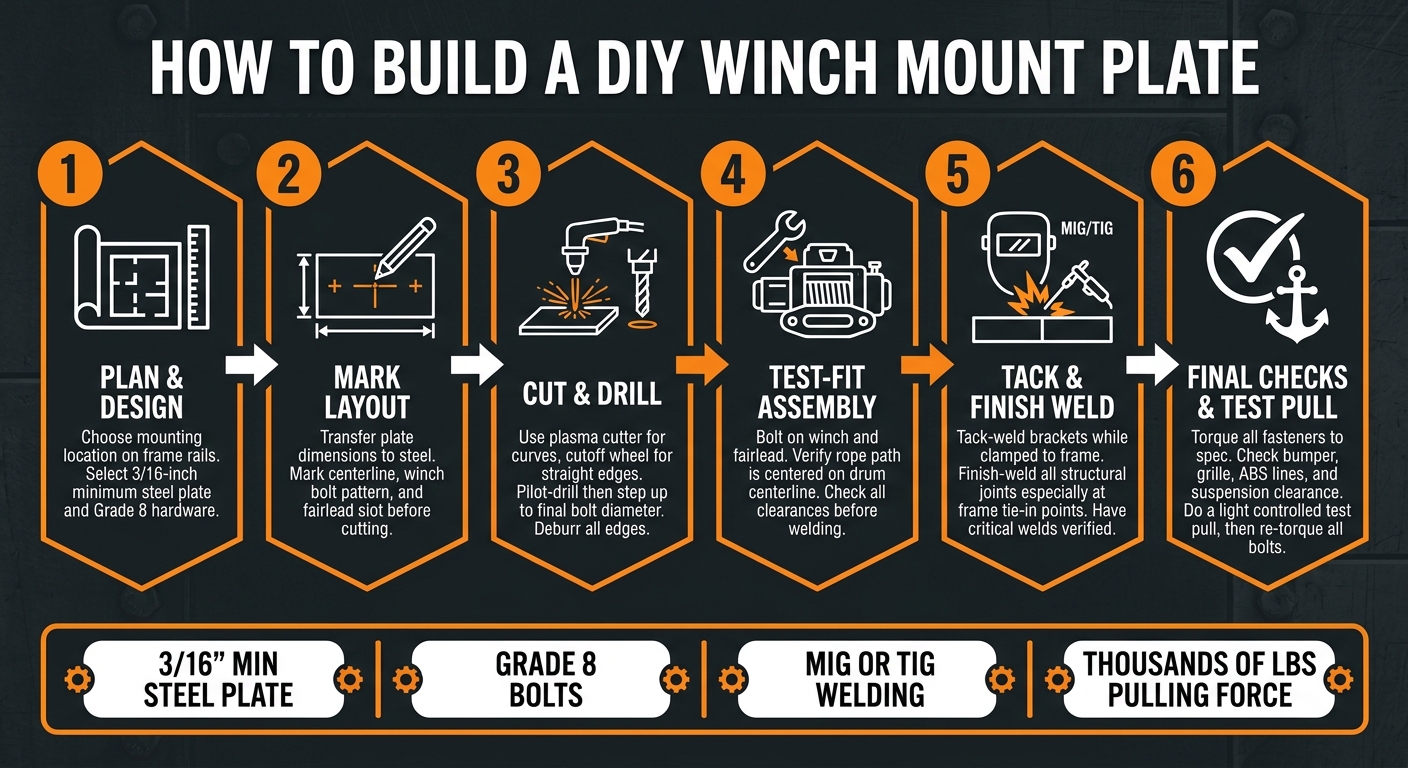
DIY Winch Mount Plate: Step-by-Step Build Process
Making my own custom winch mount.
sbb-itb-afc4690
Plan the Plate Design, Mounting Location, and Materials
Before you cut steel, figure out where the winch will sit, how the mount will connect to the frame, and which materials you’ll use.
Pick the Mounting Position and Frame Tie-In Strategy
Connect the winch mount straight to the frame rails or another structural member, and use plate brackets to spread the load. Direct frame tie-ins with fabricated plate brackets are used instead of factory mounts to help the setup handle extreme stress. Plate brackets also spread load across the frame.
It also helps to map out frame clearance and factory mounting points early. That layout will shape the bolt pattern and fairlead placement in the next step.
Choose Steel, Hardware, and Shop Tools
Use steel plate for the mount and Grade 8 hardware at every structural connection. Before you start cutting, get your welder, cutoff saw, drill press, clamps, and layout tools ready. Use MIG or TIG to weld the plate and brackets.
Before final welding, dry-fit everything on the vehicle. That gives you a chance to check the tie-ins, clearances, and bodywork alignment while it’s still easy to make changes.
With the mount location set, mark the plate centerline, bolt pattern, and fairlead opening next.
Lay Out the Cover Plate, Bolt Pattern, and Fairlead Opening
With the mounting position already set, transfer the full plate outline to the steel and line up the plate, bolt pattern, and fairlead before you cut anything. This is the stage where small layout mistakes can turn into crooked mounting holes or a fairlead that sits just a little off.
Mark Plate Dimensions and Winch Bolt Holes
Start by measuring the bumper opening or the frame span the plate needs to cover. Transfer those dimensions to the steel, then mark a single centerline. That centerline is your main reference point, so use it for the rest of the layout.
Next, grab the bolt pattern dimensions from your winch manufacturer’s spec sheet and transfer them to the plate from that centerline. Mark each hole location, then double-check that the pattern is square before drilling. A few extra minutes here can save a lot of frustration later.
Once the bolt pattern is on the plate, move to the frame tie-in points and the fairlead centerline.
Locate Frame Brackets and Fairlead Centerline
Clamp the plate in place and mark the actual frame tie-in points directly from the vehicle. Then transfer those bracket positions onto the plate so the fit matches the real mounting points, not just your rough measurements.
For the fairlead, center it on the winch drum centerline, not the plate center. That part matters. Measure the drum centerline from the winch itself, extend that point to the plate, and mark the fairlead slot there. This helps the winch line pull straight and keeps it clear of nearby hardware.
Cut, Drill, and Weld the Mount Assembly
Now that the layout is marked and the frame tie-in points are transferred to the plate, it’s time to cut, drill, fit, and weld the assembly.
Cut the Plate and Drill All Mounting Holes
Your layout marks are now your cut lines and hole centers. Use a plasma cutter for curves and tight corners, and a cutoff wheel for straight edges and corner trimming. If any corners need extra clearance during final fit, trim them now.
Deburr every edge before you handle the plate. It’s safer, and it also gives you a cleaner surface for layout lines and weld prep.
For the bolt holes, pilot-drill first, then step up to the final bolt diameter. Hole placement matters. If you have to force the winch bolts into place, the pattern is off, and the hardware won’t sit right.
Cut the Fairlead Slot and Test-Fit the Hardware
Once the plate is drilled, cut the fairlead slot and check rope alignment before welding. Use a plasma cutter or cutoff wheel, and follow the slot dimensions from your fairlead’s spec sheet. Leave a small margin, then finish the opening with a file or flap disc to smooth the inside edges.
That step matters more than it may seem. Sharp edges inside the opening can wear through a synthetic winch rope. Use the drum centerline – not just the plate mark – to keep the line straight.
Bolt on the winch, set the assembly in place, and make sure the fairlead opening and rope path are centered and clear. If anything looks off, fix it before the brackets are welded.
Tack-Weld Brackets and Finish Weld
With the hardware test-fit done, lock the brackets in place with tack welds. Tack-weld the assembly while it’s bolted or clamped to the frame so the tie-in points stay aligned.
LSK Suspension notes that weld-on structural mounts require proficient fabrication skill.
Finish-weld all structural joints, especially at the frame tie-in points where the load moves from the winch plate into the vehicle. The goal is simple: the frame tie-ins should carry the pull, not the plate by itself. Have critical welds verified before load testing.
Final Fit Checks, Assembly, and Wrap-Up
Bolt On the Winch and Check Vehicle Clearance
After the welds are done and the mount has cooled, it’s time for final assembly. Bolt on the winch and fairlead, then torque every fastener to the manufacturer’s spec. From there, test-fit the full setup and check clearance around the bumper, grille, and radiator support.
Don’t stop at a quick visual check. Turn the steering from lock to lock and move through full suspension travel. Then look closely at nearby ABS lines and cooling hoses to make sure nothing gets pinched, pulled, or stretched.
Inspect Load Paths and Do a Light Test Pull
Once the fit looks good, check the load path. The plate should sit flat across every mount point before you apply any pulling force. If even one bracket is out of place, the load can spread unevenly. That can put stress on the welds before the frame carries the force it’s supposed to handle.
Before using the setup for a full recovery, do a controlled light pull against a stationary anchor and watch the mount carefully. If you notice flex or movement, stop right there and fix the issue before going any further. After that first pull, recheck and retorque all mounting bolts.
If the frame mods are major, or if there’s any doubt about weld quality, bring in a Certified Weld Inspection (CWI).
FAQs
How do I know if my frame is strong enough?
Check that the frame can take winch loads without bending or twisting. Pay close attention to the steel thickness, the tie-in points, and whether the welds and reinforced mounting points are strong enough for your vehicle’s weight and how you plan to use it.
If you’re not sure your frame is a good fit for a custom modification, call our sales team at 909-305-4824 and have your vehicle year and model ready. They can help you figure it out.
Can I use synthetic rope with a homemade fairlead slot?
Yes – as long as you pay close attention to the fairlead slot.
Synthetic rope can fray or get damaged if it runs across sharp or rough edges. That’s the main risk.
Make sure the slot is deburred, sanded smooth, and polished. It also helps to have a generous edge radius. That reduces friction and lowers the chance of the rope getting pinched during angled pulls.
When should I have the welds professionally inspected?
Have your winch mount welds checked by a professional before you load the winch or put the vehicle back into service.
That matters even more here because this build involves welding and permanently changes the structure. A qualified fabricator can inspect the welds, confirm the frame tie-ins are sound, and make sure the plate and fastener locations can handle winching loads.
Leave a Reply