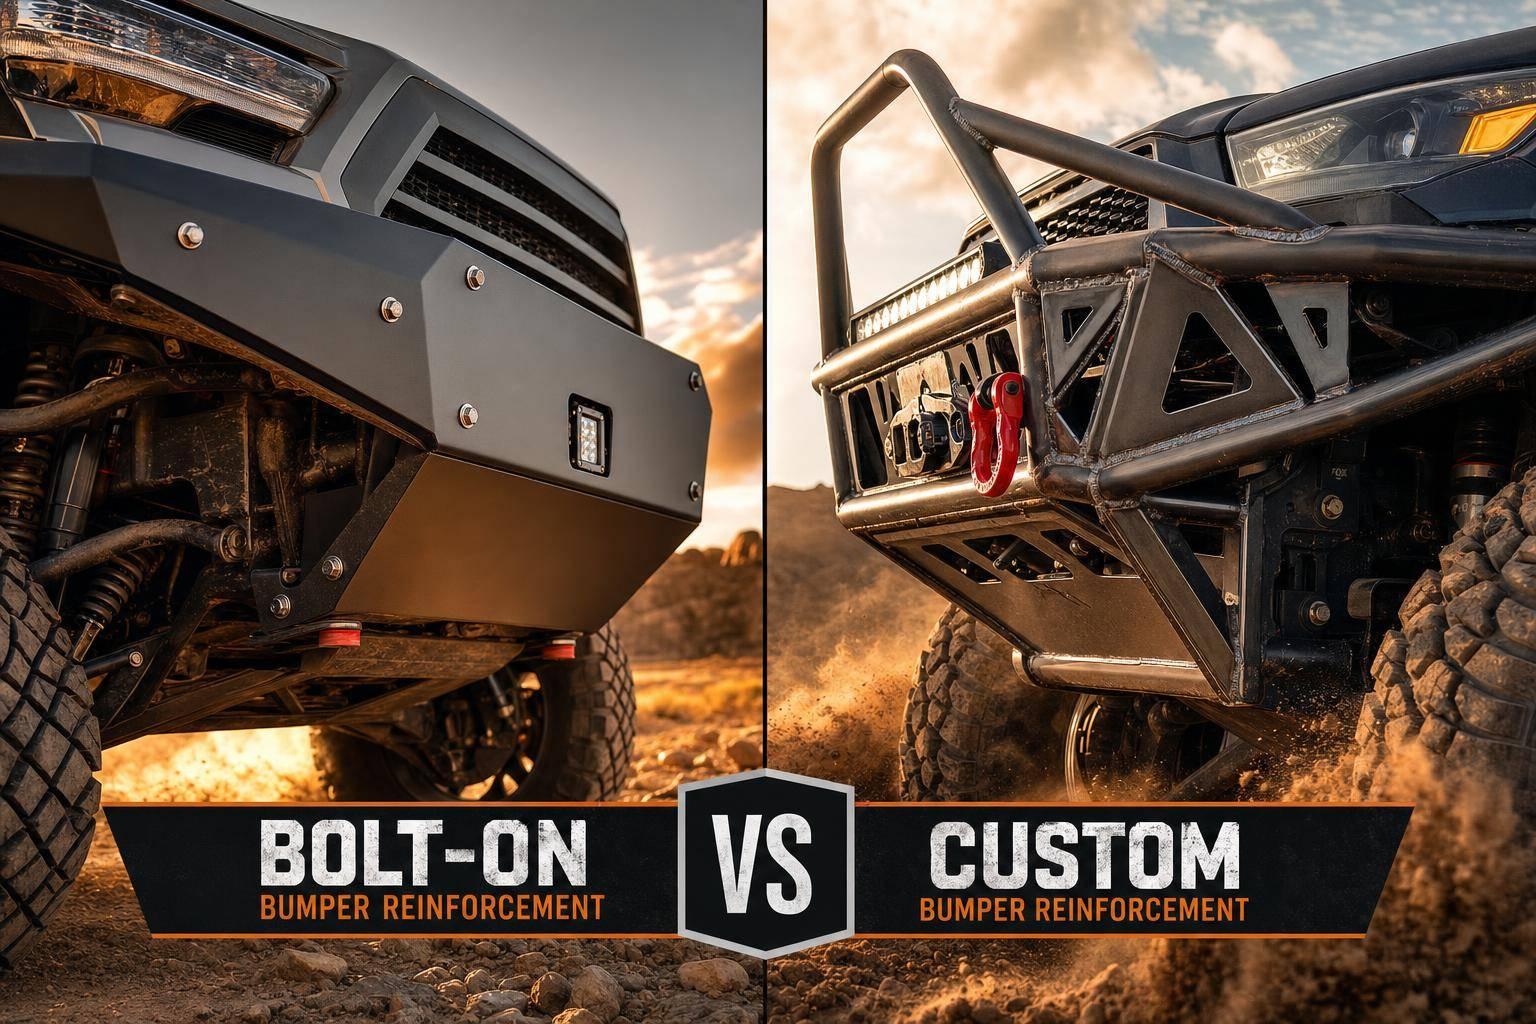
If I want the short answer: bolt-on is the simpler pick for most street-driven rigs, while custom is the stronger pick for hard off-road use – if the fabrication is done right.
Here’s the full takeaway in plain English:
- Bolt-on reinforcement
- Uses factory mounting points
- Usually installs in about 3 hours
- Needs basic hand tools
- Has a more fixed price, often around $5,600–$5,999
- Is easier to inspect, re-torque, remove, and repair
- Custom or weld-on reinforcement
- Creates new frame tie-ins and new load paths
- Often takes a full day to a full weekend
- Needs welding, cutting, grinding, and fit-up work
- Often lands around $5,650–$6,450+, before add-ons
- Can handle more abuse, but bad welds or poor layout can weaken it
- Extra costs and delays matter
- Powder coating can add about $300
- Pre-assembly can add about $500
- Bolt-on parts may be ready in 2–4 days
- Some custom or race-focused kits can take 6–8 weeks
What matters most is how you use the vehicle. If I drive it daily and hit trails now and then, bolt-on usually makes more sense. If I’m building for repeated winching, hard impacts, bigger tires, or desert/race use, custom has more upside – but also more labor, more downtime, and more room for mistakes.
Quick Comparison
| Criteria | Bolt-On Reinforcement | Custom / Weld-On Reinforcement |
|---|---|---|
| Install | Easier, no welding | Harder, fabrication work |
| Time | About 3 hours | 1 day to 1 weekend |
| Tools | Sockets, wrenches, torque wrench | Welder, cutter, grinder, measuring tools |
| Cost | $5,600–$5,999 | $5,650–$6,450+ |
| Strength ceiling | Limited by factory mounts | Higher with frame tie-ins |
| Service later | Easy to unbolt and inspect | Harder; may need more upkeep |
| Best for | Daily driver, weekend trail rig | Dedicated off-road build |
So if I had to sum it up in one line: bolt-on saves time and keeps the job simpler, while custom gives more load capacity and frame integration at the cost of labor, skill, and downtime.
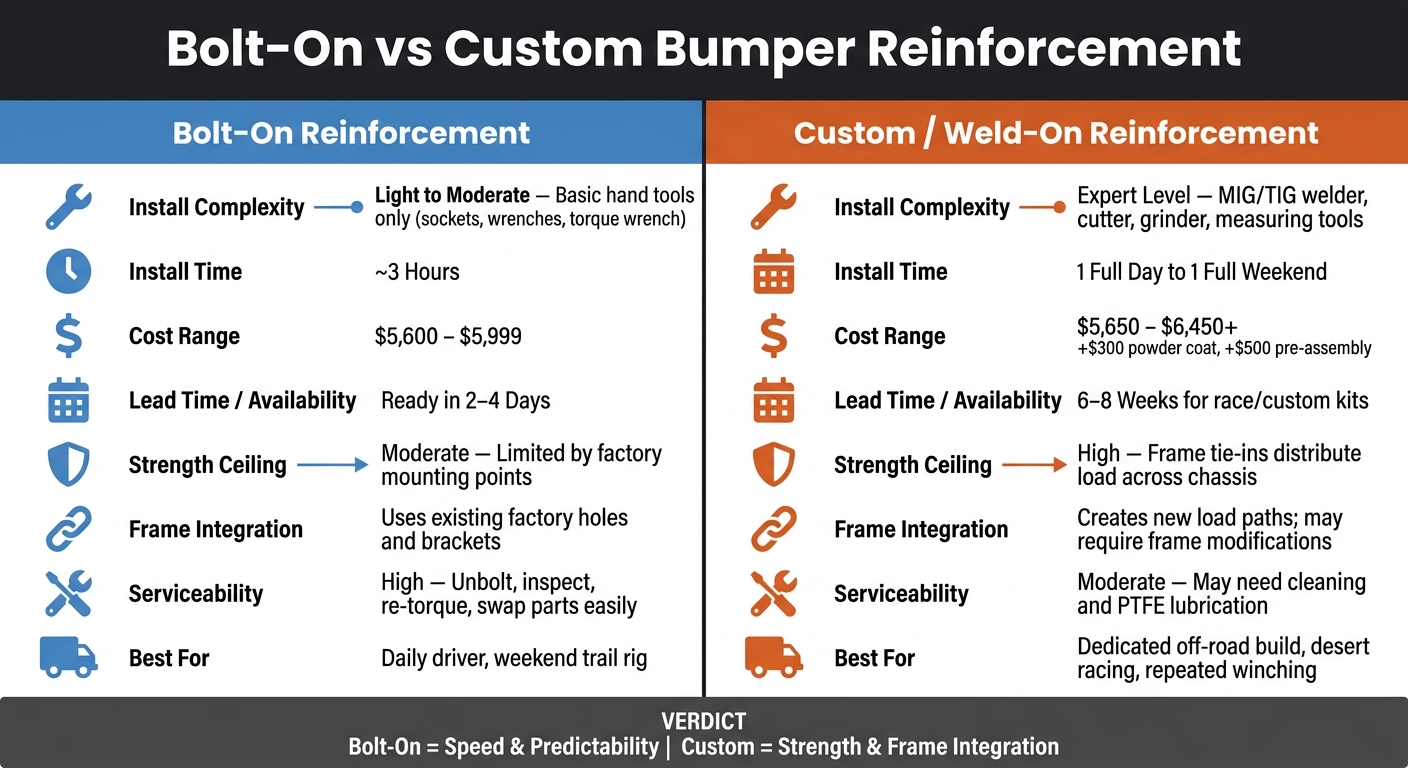
Bolt-On vs Custom Bumper Reinforcement: Side-by-Side Comparison
Bolt-On Bumper Reinforcement: Faster Install and More Predictable Cost
Bolt-on reinforcement kits are built around one simple idea: use the factory mounting locations that are already there. That keeps the job simpler and easier to plan than custom fab work. If your goal is stronger recovery mounting without turning the project into a full metalworking job, bolt-on kits are usually the faster route.
Installation, Tools, and Fitment
Most bolt-on kits are a light to moderate install. In many cases, you only need basic hand tools like sockets, wrenches, and a torque wrench. Some kits may also need minor trimming to fit cleanly. Before you buy, check the trim, cab, engine, and drivetrain for fitment. That step can save a headache later and helps keep the install much easier than a fabrication-heavy setup.
That said, an easier install doesn’t change the limit of the factory mounting structure.
Strength Limits and Serviceability
A well-designed bolt-on kit with Grade 8 hardware can handle recovery loads well, but it still relies on the factory mounting points. So while it can be a strong setup, it has a lower ceiling than a custom welded solution.
The upside is serviceability. After trail use, you can inspect each fastener, re-torque the hardware, and swap worn parts without cutting anything apart. That’s a big deal after repeated hits on the trail or a few hard recoveries.
Cost is another area where bolt-on kits make life easier. The parts, hardware, and install steps are usually defined up front, which makes the total cost more predictable. In plain terms, they’re easier to budget for.
The next tradeoff is whether custom fabrication is worth the extra labor.
sbb-itb-afc4690
Custom Bumper Reinforcement: More Flexibility and More Fabrication Work
Unlike bolt-on kits that use factory mounting points, custom reinforcement creates new load paths through the frame. You’re not just working around what the vehicle already gives you. You’re building around the vehicle’s weight, how it will be used, tire size, and approach angle. That gives you more freedom to place fabricated plate parts and frame tie-ins where the load paths call for them.
The upside is clear: more control over the final setup. The catch? It also means more fabrication work and more chances to get something wrong.
LSK Suspension also offers weld-it-yourself kits. These are pre-engineered, raw, and unassembled, but they still require welding and fit-up.
Fabrication Process and Required Skills
Even with a guided kit, things shift into full fabrication as soon as cutting and welding start. Custom builds usually follow a pretty hands-on workflow:
- Measure
- Template
- Cut
- Tack-weld
- Test-fit
- Final-weld
- Coat
Raw kits also need paint or powder coat after fabrication.
This is not bolt-on work. It calls for strong fabrication skills and careful planning. In plain terms, this is advanced fabrication. Any frame cut or mount relocation needs to be measured and templated before cutting starts. Miss that step, and small errors can snowball fast.
Durability Potential and Safety Risks
Custom reinforcement can be stronger, but only when the fabrication is done with precision. If it’s built the right way, custom tie-ins and plate work can spread recovery and impact loads across the chassis. Some custom kits are also built for tires up to 37 inches.
But here’s the hard truth: the end result depends completely on execution. Poor weld prep, bad geometry, or skipped steps can weaken the very structure you’re trying to strengthen. That’s the part that makes custom work a double-edged sword.
Some custom parts also need regular upkeep to keep working as intended, including cleaning and PTFE lubrication. That extra maintenance is worth thinking through before going all-in on a full custom build. And it’s usually where the tradeoffs become most obvious: install time, durability, and cost.
Bolt-On vs Custom: Installation, Durability, and Cost Compared
The gap between bolt-on and custom reinforcement shows up fast once you look at install time, load handling, and total spend.
Installation Time and Difficulty
Bolt-on kits are usually the easier path. In most cases, they go on in about 3 hours with standard hand tools. Custom fabrication takes more time and more skill. Fitment, welding, and frame tie-ins can turn the job into a full day or even a full weekend.
| Feature | Bolt-On Reinforcement | Custom/Weld-On Reinforcement |
|---|---|---|
| Installation Complexity | Light to moderate mechanical skill | Expert; fabrication and welding required |
| Tools and Skills | Standard hand tools | MIG/TIG welding, cutting, grinding |
| Typical Install Time | ~3 hours | Full day to a full weekend |
| Initial Cost Range (USD) | $5,600–$5,999 | $5,650–$6,450+ |
| Strength Potential | Moderate; limited by factory bolt points | High; optimized through frame tie-ins |
| Frame Tie-In Potential | Limited to existing holes and brackets | Permanent; may require frame modifications |
| Serviceability | High; components can be unbolted and swapped | Moderate; may require cleaning and lubrication |
That table tells the story pretty well. Bolt-on setups ask less from the installer. Custom or weld-on systems demand fabrication skill, welding gear, and a lot more time in the garage.
Durability, Recovery Loads, and Long-Term Cost
Install time is only part of it. The bigger split shows up when the vehicle sees repeated recovery loads.
Bolt-on systems are usually the better fit for vehicles that live mostly on the street or only head off-road now and then. Custom systems can be built for dedicated off-road rigs and heavier loads, but that extra strength depends on good frame integration and weld quality. If the work is sloppy, the upside disappears fast.
Cost shifts too. A custom build may start close to a bolt-on option, but finishing and assembly can push the price up. Professional powder coating can add about $300, and pre-assembly for more involved weld-on kits can add about $500.
Service is another clear dividing line. Bolt-on systems are simpler to deal with later because the parts come off cleanly. Repairs and swaps are often pretty direct. Custom builds can offer more headroom, but they may need more regular upkeep, including cleaning and PTFE lubrication, to stay quiet and working as they should.
Those tradeoffs are what shape the best choice for a given build. The next step is lining them up with how the vehicle will actually be used.
Which Option Fits Your Build
Pick based on how you use the vehicle, the load it sees, your budget, your access to fabrication tools, and how long you can have it out of service.
| Use Case | Best Fit | Why |
|---|---|---|
| Daily driver or weekend trail rig | Bolt-On | Fast install in about 3 hours; no drilling or welding required; ready in 2–4 days |
| Dedicated off-road or desert racing | Custom / Weld-On | Best structural integration for hard off-road use |
| Builder with welding access | Weld-It-Yourself | Pre-engineered base for builders with welding access |
That basic split makes the choice a lot easier. Bolt-on works well for simpler builds that need less hassle. Custom makes more sense when the build has to handle harder use and higher stress.
One thing people often miss is downtime. It sounds minor until the truck is sitting in the garage waiting on parts. Bolt-on components can be ready for pickup in 2–4 days. Full race or custom-ordered kits can come with lead times of 6–8 weeks.
Fabrication skill also changes the answer fast. Custom reinforcement calls for solid fabrication ability, so that piece alone can make the decision for you.
Here’s the short version: Bolt-on gives you speed and more predictable costs. Custom gives you tighter structural integration and more headroom for extreme use. If you can weld but don’t want to start from scratch, a weld-it-yourself kit sits in the middle. You get a proven geometry as a starting point, then tailor it to your build.
FAQs
How do I know which option fits my driving style?
It comes down to how you use your vehicle most of the time.
Bolt-on kits from LSK Suspension make the most sense for rigs that live on the street and only see off-road trips now and then. They can improve ride quality without making permanent changes to the frame, which is a big deal if you want a simpler install.
Custom race kits fit dedicated off-road rigs better, or vehicles that only spend limited time on the street. They give you full long-travel geometry for sustained speed in rough terrain, but there’s a tradeoff: installation usually calls for welding and fabrication skills.
When is custom reinforcement worth the extra labor?
Custom reinforcement makes sense when you’re building a dedicated off-road rig or a high-performance vehicle that’s meant to run hard over rough terrain for long stretches.
Compared with bolt-on systems, custom weld-on kits give you the geometry and chassis integration that serious desert driving demands. The tradeoff is simple: they need skilled fabrication work, and they involve permanent changes to the vehicle so the setup can hold up in extreme conditions.
What hidden costs should I budget for?
Beyond the base kit price, set aside money for optional powder coating and professional assembly if the kit arrives raw or in pieces.
You’ll also want to factor in the parts and labor that often come with the job. That can include coilover and bypass shocks, bump stops, limit straps, axle assemblies, and shop work for welding or fabrication if the setup needs custom work or weld-on reinforcement.
Leave a Reply