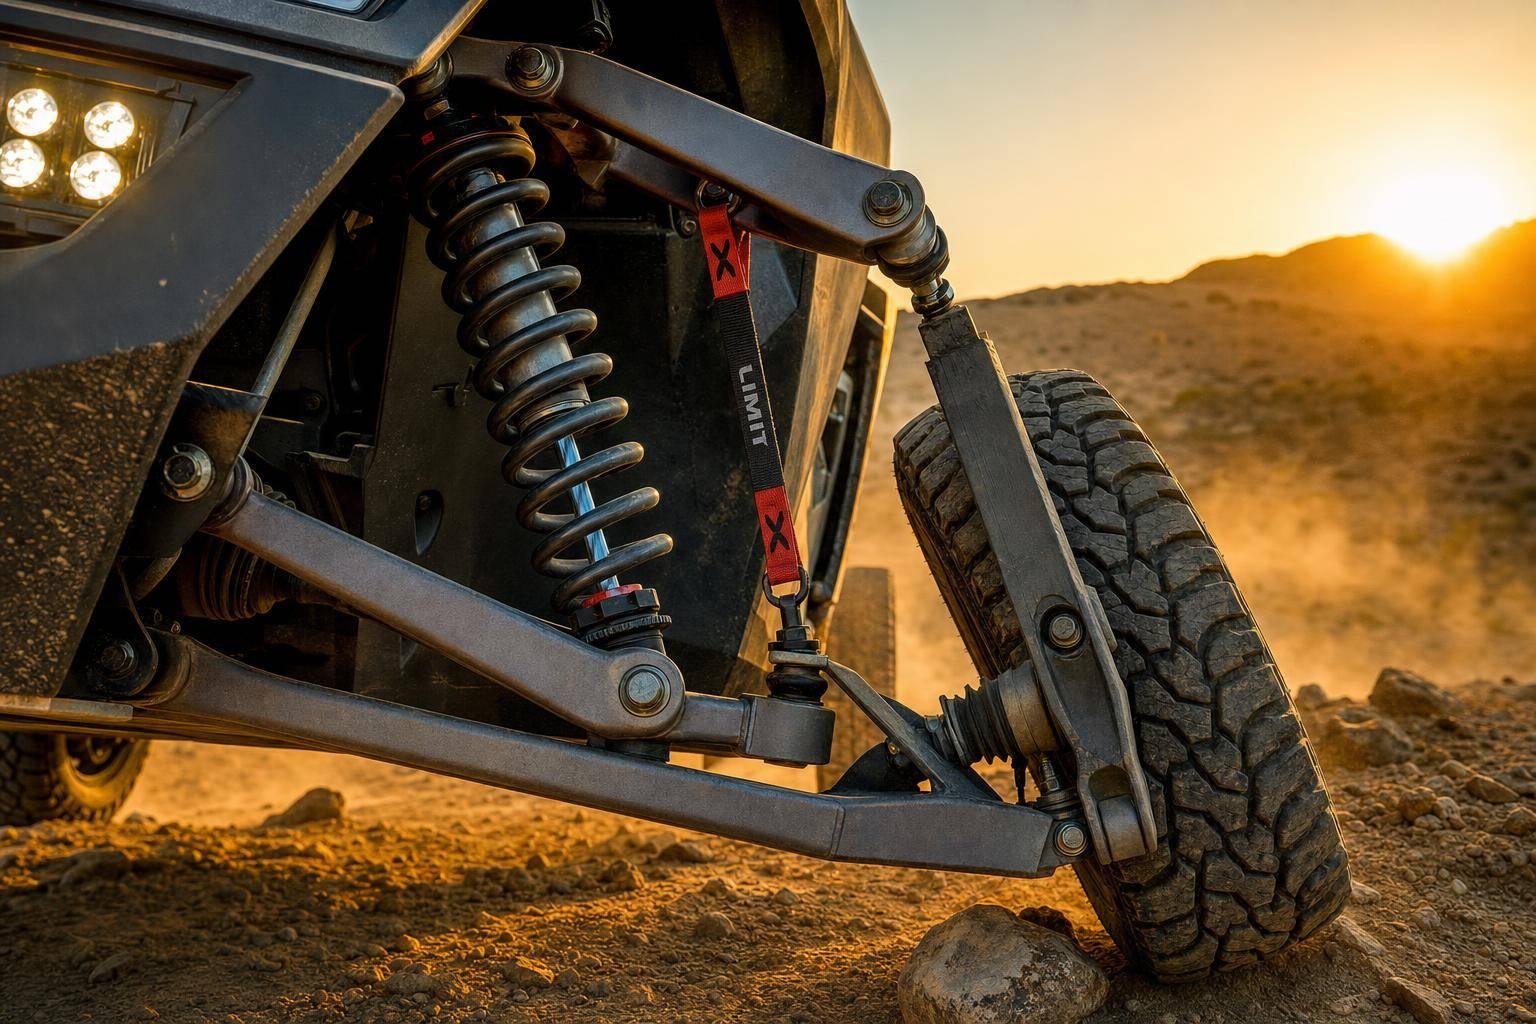
More shock stroke does not mean more usable travel. If I were setting up a stock-width IFS truck, I’d start by finding the first hard limit at droop and bump, then size the shock, bump stop, and limit strap around that range.
Here’s the short version:
- Wheel travel and shock stroke are not the same thing
- CV angle, tie-rod angle, and brake line tension often stop droop first
- Tire, fender, coilover, and shock compression often stop bump first
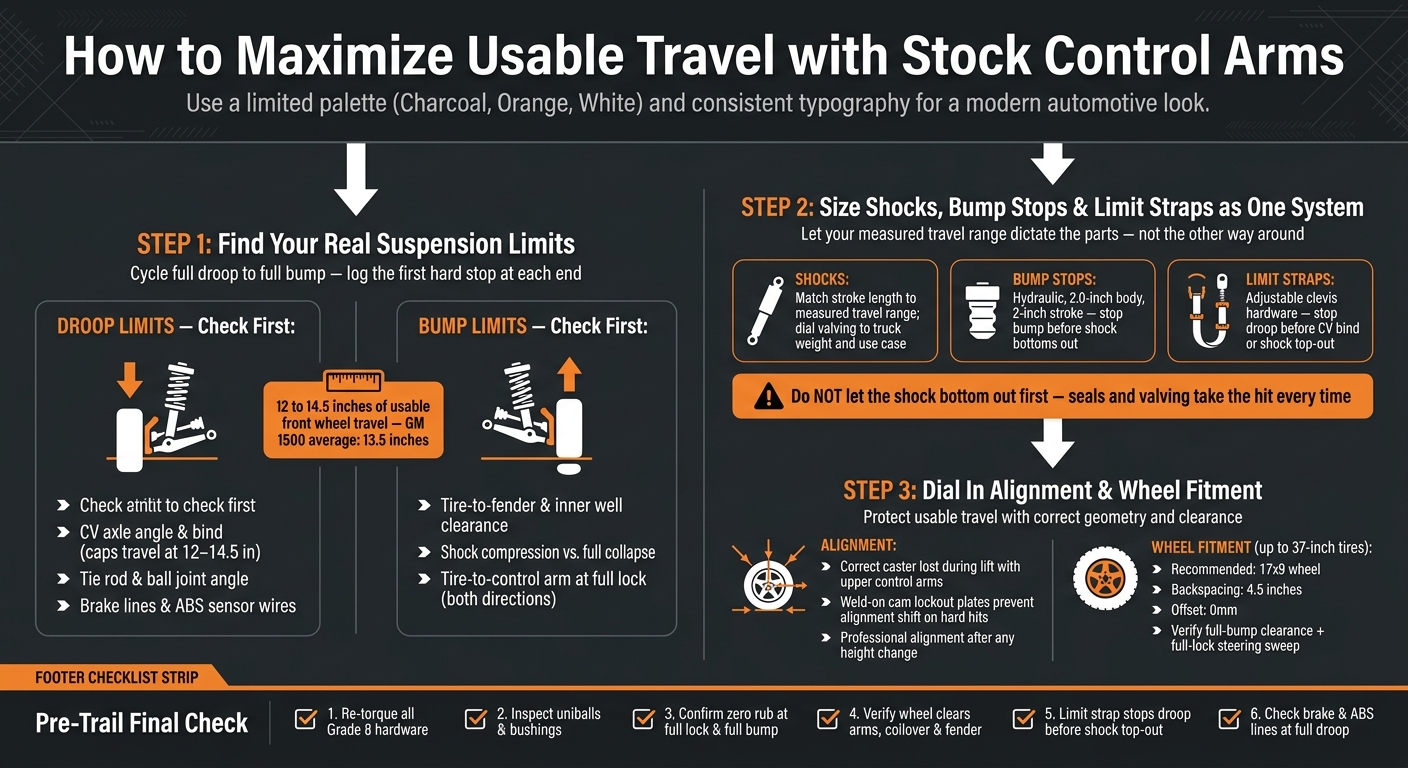
- A stock-geometry mid-travel setup can land around 12 to 14.5 inches of usable front wheel travel, with one cited GM 1500 setup averaging 13.5 inches
- Limit straps should stop droop before CV bind or shock top-out
- Bump stops should stop bump before the shock bottoms out
- Alignment and wheel fitment help keep that travel safe and repeatable
If you want more travel with stock-style arms, the goal is simple: use every safe inch the front end can cycle through without bind, rub, or part damage. That means checking the whole system, not chasing a bigger shock on paper.
I’d treat the setup like this:
| Area | What I’d watch first | What can go wrong |
|---|---|---|
| Droop | CVs, tie rods, ball joints, brake lines | Bind, over-extension, torn lines |
| Bump | Tires, inner fenders, coilover clearance, shock compression | Rub, hard contact, shock damage |
| Control parts | Bump stops and limit straps | Shock bottom-out or top-out |
| Finish work | Alignment, wheel offset, backspacing | Poor clearance, added joint load |
The core idea is simple: cycle the suspension, write down the first limit, and build around that number. That’s how I’d get travel I can use on the road and on the trail.
Stock IFS Suspension Setup: 3-Step Process for Maximum Usable Travel
Everything About Toyota IFS | Suspension Construction and Limits | Part 1
sbb-itb-afc4690
Step 1: Find the real limits of your stock-geometry front end
Cycle the front suspension from full droop to full bump and write down the first hard stop at each end. That first limit shows how much travel the stock geometry can actually use. Start at droop, then move into bump, and note the first point of interference each time.
Check droop limits at the CV, ball joint, and tie rod
Pull the coilover and let the suspension hang at full droop. On a 4WD truck, CV axle angle usually binds before most other parts, which caps down-travel on mid-travel builds in the 12-inch to 14.5-inch range depending on the axle, limit strap, bump stop, and shock setup.
A move to 1.00-inch uniballs with stainless misalignment spacers gives you more angle and better droop control than a factory ball joint. But don’t assume the shock is the limiting part. If the tie rod binds or starts running at a sharp angle before full droop, that’s your real droop limit.
Also check the small stuff people miss:
- Brake lines
- ABS sensor wires
If either one is under tension, that’s a hard stop too.
Check bump limits at the tire, fender, and shock body
Now cycle the suspension upward and watch for the first thing that gets too close. Usually that means checking where the tire hits the inner fender or sheet metal, where the wheel or tire gets near the control arm or coilover body, and where the shock gets close to full compression.
With 37-inch tires, clearance at full bump gets tight fast, especially during a steering sweep. Don’t check it only with the wheels straight. Turn the steering to full lock in both directions and watch what changes. The first contact point is your safe up-travel limit.
Log each limit in order so you can size the rest of the setup around the tightest one.
| Suspension Position | What to Check | What It Limits |
|---|---|---|
| Full droop | CV axle angle and bind | Down-travel on 4WD trucks |
| Full droop | Tie rod and ball joint angle | Steering integrity at extension |
| Full droop | Brake line and ABS wire tension | Safe extension range |
| Full bump | Tire-to-fender and inner well clearance | Up-travel with larger tires |
| Full bump | Shock compression vs. full collapse | Shock seal and internal damage |
| Full bump (full lock) | Tire-to-control arm and coilover clearance | Steering sweep at full bump |
One rule here matters more than most: do not let the shock bottom out first. If the shock fully compresses before anything else reaches its limit, the seals and valving take that hit every time. That’s how you end up stuck in a repair loop.
Record the first contact point at bump and droop. Step 2 turns those limits into shock, bump stop, and limit-strap lengths.
Step 2: Choose shocks, bump stops, and limit straps as one system
Use the bump and droop limits you measured to size your shocks, bump stops, and limit straps. Think of them as one setup, not three separate parts. Each piece needs to stop suspension movement before the next part runs out of room. In plain English: let your measured travel range tell you what parts to run, not the other way around.
Match shock length and valving to your truck’s actual travel range
Start with a shock length that fits your truck’s measured travel. After that, dial in the valving and spring rate based on how much the truck weighs and how you use it day to day.
That means looking at the truck’s actual weight, not just the brochure number. If you tow often, carry gear, or spend time off-road, that should shape your setup. For heavier trucks like the 2500HD or 3500, valving and spring rates need to match curb weight and added accessories.
Set bump stops and limit straps by cycling the suspension
Cycle the suspension to full bump first. Then set the bump stop so the shock never bottoms out. For this kind of build, hydraulic bump stops with a 2.0-inch body and 2-inch stroke are commonly used.
Next, cycle the suspension to full droop and set the limit straps. The goal is simple: stop droop before the shock tops out or the CVs and joints start to bind. Adjustable clevis hardware helps here because it makes strap length easier to check and reset as the straps stretch over time.
Once those stop points are locked in, the rest of the travel picture comes down to alignment and wheel clearance.
Where LSK Suspension fits into a stock-style mid-travel build
LSK Suspension offers vehicle-specific upper control arms and limit straps for stock-style IFS builds. After travel is capped the right way, alignment and wheel fitment become the next limiting factors.
Step 3: Use alignment and wheel fitment to protect travel
Once the suspension stops are dialed in, alignment and wheel fitment become the last guardrails for usable travel. The point isn’t getting more movement on a spec sheet. It’s keeping the front suspension travel your truck can actually use without rubbing, binding, or knocking the alignment out on the first hard hit.
Set caster, camber, and toe within safe lifted-IFS limits
Lifting an IFS truck changes alignment angles, and upper control arms are often used to get back the caster lost during the lift. If that caster isn’t corrected, the truck can feel off on the road and less settled off-road.
Weld-on cam lockout plates can replace the factory cam tabs and help stop the alignment from slipping during hard landings and rough terrain. That matters more than a lot of people think. An alignment that looks fine in the shop doesn’t help much if it shifts after a few hits.
After any suspension height change, get a professional alignment so caster, camber, and toe are checked together. Those settings work as a package, not as separate boxes to tick.
Choose wheel offset and backspacing for clearance without excess leverage
Wheel offset has a direct effect on both clearance and joint load. More positive offset reduces room around the control arm and coilover at full bump. More negative offset gives you more inner clearance, but it also adds leverage to bearings, ball joints, and tie rods every time the truck hits a bump or you turn the wheel.
LSK Suspension recommends a 17×9 wheel with 4.5 inches of backspacing and 0mm offset as a starting point for up to 37-inch tires. That 0mm offset baseline helps keep inner clearance without adding extra leverage where you don’t need it.
From there, verify full-bump clearance and steering sweep during a complete cycle test. Then check clearance again at full bump and full lock before trail use.
Conclusion: Safe ways to gain more usable travel with stock-style control arms
To get more usable travel, start by finding the hard limits of the front end. Then match the rest of the setup to those limits: shocks, bump stops, limit straps, alignment, and wheel fitment.
That’s the whole game.
When those parts work together, a stock-geometry front end can deliver repeatable wheel travel you can use again and again. No guesswork. No setup that feels fine in the garage but falls apart on the trail.
Final checklist before trail use
Before you head out, do one last cycle check and verify the basics:
- Re-torque all Grade 8 hardware. Fasteners can settle after the first assembly, so check them again before the first trail run.
- Inspect uniballs and bushings. Look for play or debris, and clean uniballs with PTFE oil as needed.
- Cycle once more and confirm zero rub at full lock and full bump.
- Confirm the wheel clears the arms, coilover, and fender at full bump and lock.
- Verify limit strap length stops droop before shock top-out.
- Check brake and ABS lines at full droop.
A quick check here can save you a lot of trail-side headaches later.
FAQs
How do I measure usable travel?
Usable wheel travel is the suspension’s range of motion for your specific setup, from full extension to full compression.
That number comes from how your shock, limit strap, and bump stop are set up. Change any of those parts, and your travel number can change too.
So when someone talks about wheel travel, they’re not talking about a fixed number for every truck. They mean the amount of travel your setup can use as configured.
If you want help choosing a package for the way you use your truck, you can consult LSK Suspension.
What usually limits droop first?
With OEM replacement coilovers and stock-style control arms, droop is usually limited by the coilover first. Its physical length and travel range decide how far the suspension can extend.
If you want to get the most travel out of the setup, shock choice and setup matter a lot. The goal is simple: let the suspension move as far as it can without pushing the geometry past safe operating limits.
Can bigger tires reduce wheel travel?
Yes. Larger tires can cut into usable wheel travel if they hit suspension parts or the fenders at full compression.
To avoid that, pay close attention to wheel offset, backspacing, and bump stop setup so the tire clears the body and chassis through the full suspension cycle. It’s also smart to check clearances on a regular basis. That helps keep the tires from becoming the thing that stops suspension movement.
Leave a Reply