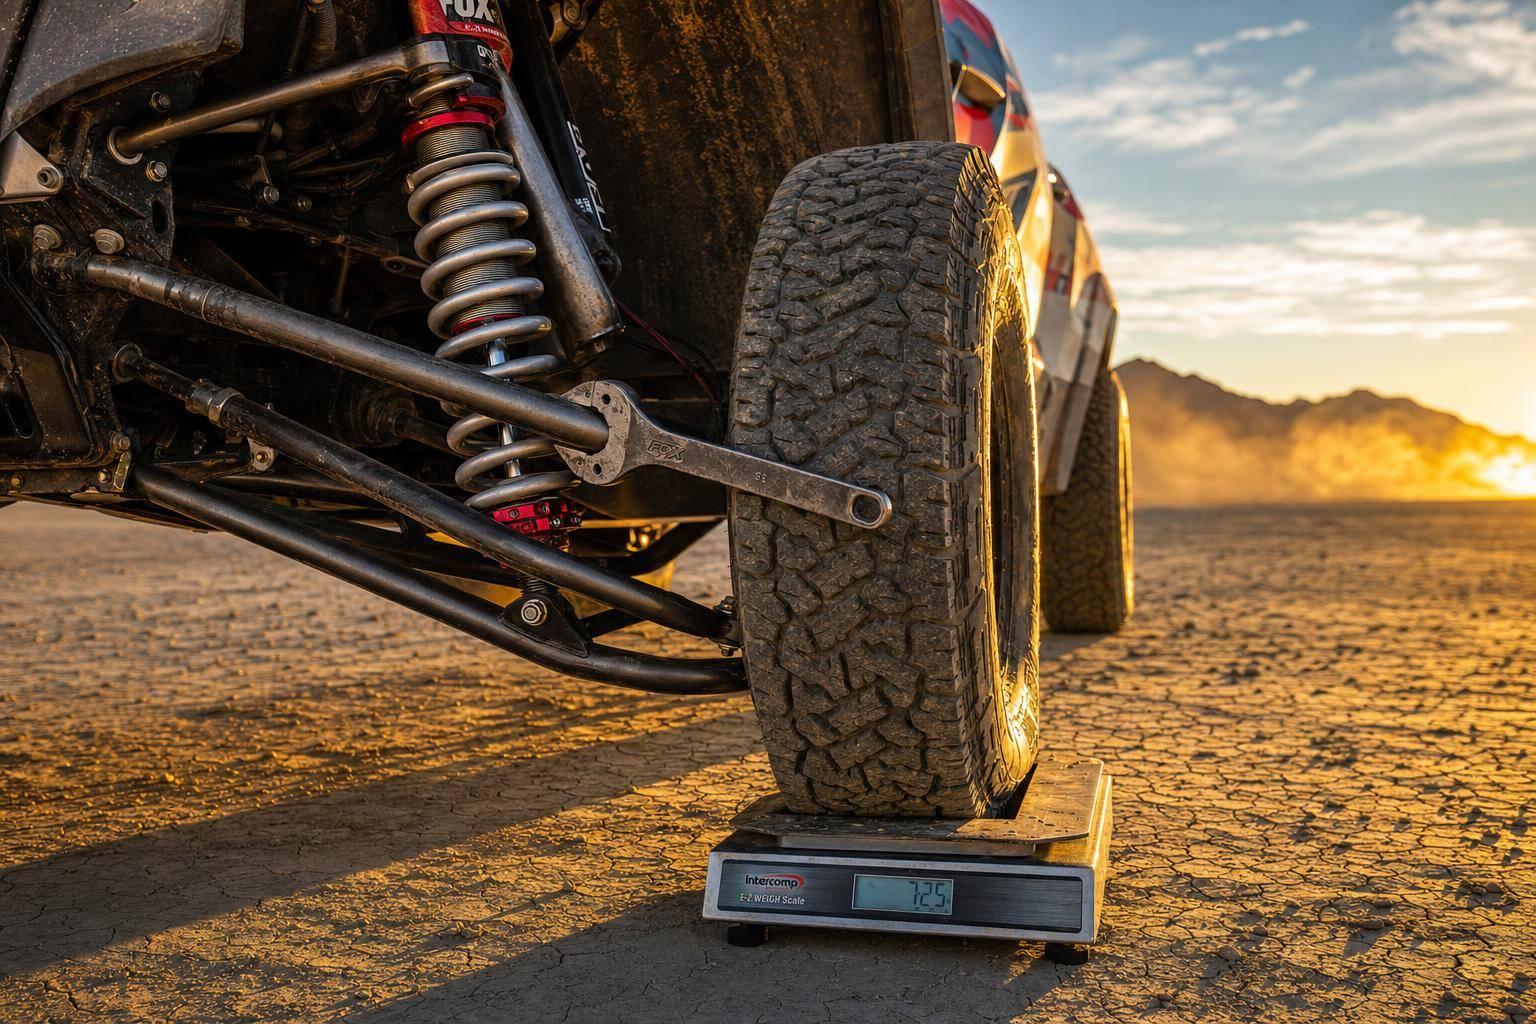
The short answer: I’d choose spring rates by starting with the truck’s actual loaded weight, then matching that to suspension geometry, ride height targets, and how the truck is used most often. Spring rate alone is not enough. I also need to look at wheel rate, front-to-rear balance, preload, and how often the truck sees speed, rocks, cargo, or towing.
Here’s the fast version:
- Weigh the truck as-driven: full fuel, driver, tools, armor, and gear
- Use corner weights if possible: they show left-right load differences
- Account for suspension layout: motion ratio and shock angle change wheel rate
- Match springs to use case:
- Desert/high-speed: firmer for bottom-out control and less body motion
- Trail/rock crawling: softer for articulation and grip
- Overland/mixed-use: rear springs should support the heaviest normal load
- Use preload to set sag and ride height, not to hide the wrong spring
- Watch symptoms:
- frequent bottoming = often too soft
- harsh small-bump ride = often too stiff or over-damped
- squat with cargo = rear spring too soft for payload
A few facts matter here. Spring rate is measured in lb/in, and even a setup change like 37-inch tires, beadlocks, steel bumpers, or a rear fuel cell can shift what the truck needs. On many builds, load changes of even a few hundred pounds can push the spring choice in a different direction.
If I were picking springs for an off-road truck, I would not guess from a parts catalog. I’d start with weight, geometry, and use, then test the truck on pavement, washboard, and bigger hits before changing rate again.
How to find the correct coilover spring rates
sbb-itb-afc4690
Measure the Truck Before Picking a Spring
Once you know wheel rate, the next thing that matters is actual truck weight. Not a rough estimate. Not what the spec sheet says. The truck needs to be weighed as it runs.
That means:
- full tank of fuel
- driver in the seat
- permanent gear installed
Those numbers give you a starting point you can use, not just a theory.
Get Front, Rear, or Corner Weights in Running Condition
Corner weights are the best data you can get. Front and rear axle weights are still useful, but corner weights show side-to-side differences that axle totals can hide.
That matters more than people think. A battery on one side, a fuel tank on the other, the driver, tools, recovery gear, or a fridge setup can shift weight enough to change how the truck sits and how it reacts. And that feeds straight into later tuning for roll and sag.
If the truck is being built around a camper, tow setup, or bed rack, weigh it with that load now. Waiting until later just means you’ll be picking springs off the wrong baseline.
Account for Front-to-Rear Balance and Suspension Layout
Front spring load changes a lot based on engine and cab setup. A heavy V8 or a crew cab can add enough static load to change your starting spring choice.
Wheelbase and rear overhang matter too. A long bed with gear in the back acts like a lever, and that lever puts more pressure on the rear springs. So even if the added cargo doesn’t look huge on paper, it can still push rear spring demand up.
Suspension layout changes the numbers too. A factory leaf-spring setup carries load one way. A custom trailing-arm or four-link setup carries it another way. If the rear suspension geometry has been changed, factory spring numbers are no longer a safe reference.
Factor In Tire Size and Wheel Weight
Tires and wheels count as unsprung weight, which means the springs don’t directly hold them up. Even so, a heavier wheel-and-tire setup makes the suspension work harder. Think 37-inch tires on beadlock wheels. That kind of package adds unsprung weight and asks more from the suspension.
Long-travel geometry changes things too. It can add wheel leverage, which often means you need more spring rate to get the same support.
So before moving to the next step, use the truck’s measured weight and any leverage changes from the suspension setup to set your baseline spring rate.
| Component Change | Effect on Spring Selection |
|---|---|
| 37" tires on beadlock wheels | Increases unsprung weight; requires more control and support |
| +4.5" track width per side | Increases wheel leverage; usually requires a higher spring rate |
| Steel bumpers and winch | Adds front weight; raises front spring rate needs |
| Rear-mounted fuel cell or radiator | Shifts weight rearward; increases rear spring rate needs |
| Rooftop tent or bed cage | Adds rear bias; corner weights become more useful than axle weights alone |
Pick a Baseline Spring Rate for Your Use Case
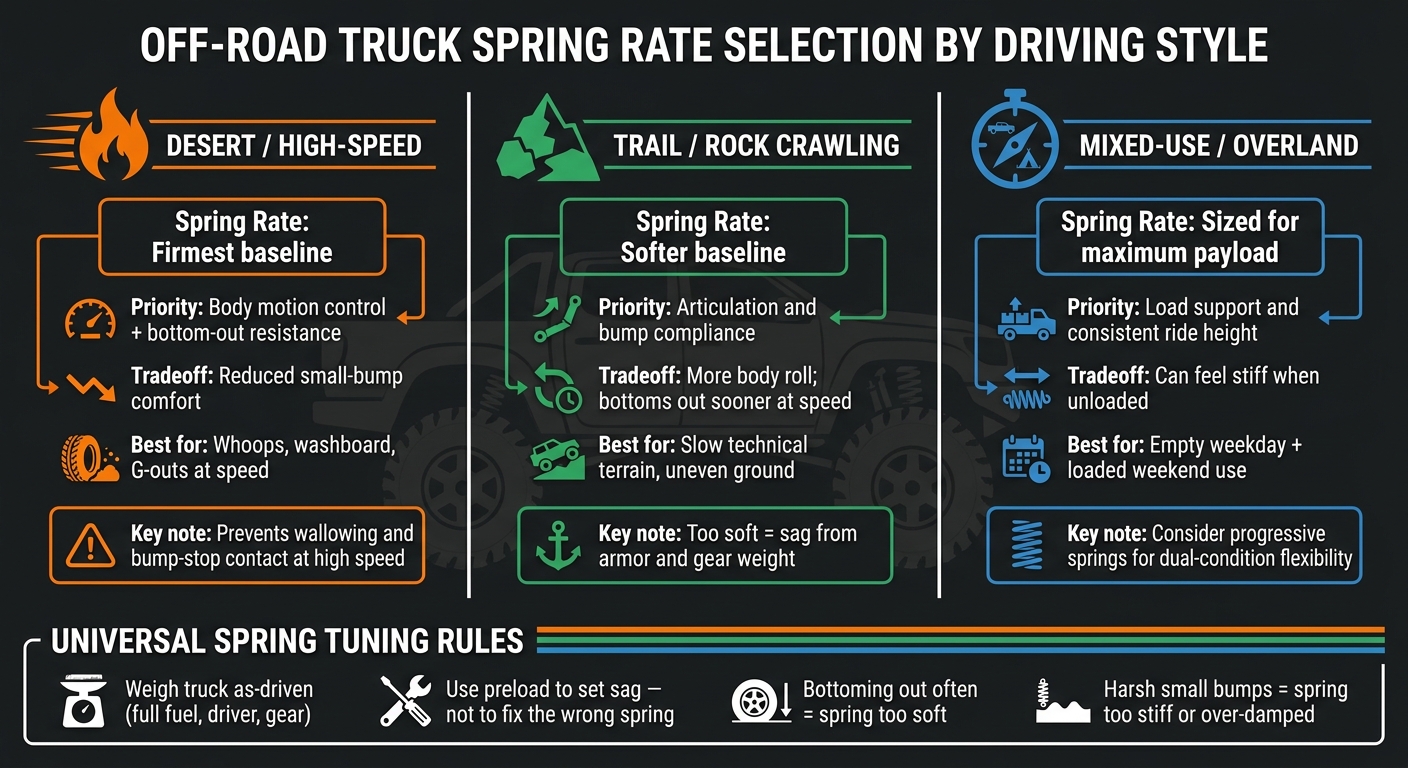
Off-Road Truck Spring Rate Guide by Driving Style
Use your measured weights and suspension geometry to pick a starting spring rate that lands the truck at the target ride height while leaving enough up-travel and droop. After that, choose the rate that fits how the truck is driven most of the time.
Desert and High-Speed Dirt Setups
High-speed desert driving calls for the firmest baseline rate. Whoops, washboard, and G-outs come at the truck fast, and a spring that’s too soft can make it wallow, lose body control, and hit bottom before the shock has a chance to work. That’s why desert setups usually need a firmer starting rate. It helps control body motion, cut down on bottoming, and keep the truck off the bump stops at speed.
On slower terrain, the priority shifts. There, suspension movement and grip matter more than tight chassis control.
Trail, Rock Crawling, and Low-Speed Articulation
Trail and rock-crawling trucks usually work better with a softer rate because it helps articulation. But there’s a limit. Go too soft, and armor, tools, and other gear can push the truck into too much sag and cut droop. The goal is simple: keep the truck flexible without letting loaded ride height fall apart.
Mixed-Use and Overland Builds
Mixed-use and overland builds deal with the biggest swings in load. A truck might be empty during the week, then packed with camping gear for the weekend. That means the same springs have to manage two very different weight conditions.
For that reason, size the rear springs for the heaviest payload you expect to carry, not for the empty truck. Overland rear spring rate should match maximum payload, not curb weight.
Once the baseline is installed, use preload and ride-height checks to fine-tune balance.
Spring Rate Priorities by Driving Style
Once you’ve weighed the truck and picked a starting spring, driving style becomes the main tie-breaker. At this point, the question is simple: What does the truck spend most of its time doing?
Firmer springs do a better job of controlling body motion at speed. They also help resist bottoming out when the truck takes hard hits. The downside is pretty clear: they pass more of the small stuff into the cabin, so the ride feels less smooth.
Softer springs go the other way. They let the suspension move more freely, which helps with articulation and bump compliance. That usually feels better on slow trails and uneven ground. But they’ll bottom out sooner when speed goes up or impacts get harder.
Here’s the quick way to narrow it down:
| Driving Style | Priority | Tradeoff |
|---|---|---|
| Desert / High-Speed | Control and bottom-out resistance | Reduces small-bump comfort |
| Trail / Rock Crawling | Articulation and compliance | More body roll; bottoms sooner at speed |
| Mixed-Use / Overland | Load support and ride height | Can feel stiff when unloaded |
Mixed-use trucks are where spring choice gets a little tricky. You need enough spring rate to keep ride height in check when the truck is loaded, but not so much that the truck feels harsh when it’s empty. Progressive springs can help here because they give you a softer feel early in the travel and more support deeper into the stroke.
Next, use ride height and sag to check whether the spring is actually a good match for the truck.
Tune Ride Height, Balance, and Bottom-Out Control
After you install a baseline spring, check how the truck actually sits and moves. The starting rate is just that – a starting point. Sag, ride height, and handling will tell you if the spring is doing its job or if you need to swap it.
Use Preload to Set Sag and Ride Height
Use preload to dial in sag and ride height. Don’t use it to cover up the wrong spring rate. If the truck still bottoms out after you’ve set ride height, the fix is to change the spring rate, not keep adding preload.
Adjust Front-to-Rear Balance for Roll, Dive, and Squat
Front-to-rear balance changes how the truck behaves under braking, acceleration, and load. A softer front spring adds more brake dive. A stiffer front cuts dive down.
In the rear, too little spring rate lets the truck squat under load. Too much can make it feel harsh and a bit loose on rough ground. That’s the tradeoff.
Heavy cargo or towing – like a camper shell or a bed that’s often loaded – usually points to a leaf-pack change or a sway bar, not just more preload.
Signs the Spring Is Too Soft or Too Stiff
A spring that’s too soft will bottom out often, even when ride height is set correctly. A spring that’s too stiff tends to feel harsh over small bumps and can hurt traction on chatter. Instead of tracking the ground, the truck skips across it.
If the rate is wrong, swap the spring. Don’t try to fix it with preload.
If these checks still suggest a mismatch, the next move is a short test loop to confirm what the truck is telling you.
Diagnosing Spring Rate Problems on the Truck
Once ride height and preload are set, the next step is simple: match the symptom to the pattern.
Spring-rate issues usually don’t show up as one random problem. They tend to repeat. Maybe the truck keeps squatting with gear in the bed. Maybe it feels too sharp over little cracks in the road. Maybe it bottoms out again and again. Those patterns matter.
That’s why it helps to read the symptoms first before swapping springs. In most cases, spring-rate tuning takes a few test-and-adjust rounds before things feel right.
Use this table to tell spring-rate problems apart from damping, bump-stop, and basic maintenance issues.
Symptom Table for Spring Rate Diagnosis
| Symptom | Likely Spring Issue | First Check |
|---|---|---|
| Frequent bottoming out | Spring too soft, or bypass too open | Check bump stop engagement and bypass tubes |
| Low ride height | Spring too soft, or preload too low | Verify sag and coil bind |
| Excessive body roll | Soft spring rate or lack of sway bar | Check sway bar; evaluate spring rate for load |
| Harsh over small bumps | Spring too stiff | Check damping first |
| Harsh on big hits | Hitting bump stops too early or stiff valving | Check bump stop gap and bypass zones |
| Tires chatter or lose contact | Spring too stiff | Soften damping |
| Rear squat under load | Rear spring too soft for the payload | Check for added weight and increase rear rate |
A squeak is usually a dead giveaway that the spring rate isn’t the problem. More often, that noise comes from bushings or uniballs. Clean and lube those parts before you start changing springs.
If the truck bottoms out only on fast hits, don’t blame the spring right away. Check shock valving and bump stops first. The spring holds the load, while the shocks and bump stops manage what happens near the end of travel.
When the symptom does point back to spring rate, test the truck on both pavement and trail before making another rate change.
Test the Truck and Decide on the Next Change
Paper math gets you in the ballpark. But the truck itself tells you if the spring rate is right.
That’s why a repeatable test matters. If you change springs, preload, or damping, then drive a different route in different conditions, it’s hard to know what actually changed. Use the same loop each time so you can compare one setup against the last.
Run a Short Highway, Dirt, and Trail Test Loop
Use the same three surfaces every time you make an adjustment:
- Highway pavement to check stability, brake dive, and body roll
- Washboard dirt to check small-bump compliance
- A trail with larger G-outs to check bottom-out behavior
Run the same route, in the same conditions, before and after each change. Then use your notes to decide what needs attention. Sometimes the issue points to a spring-rate change. Other times, a smaller damping or preload adjustment is enough.
Rate Change vs. Fine-Tuning Change
Start with damping and preload.
If ride height still forces you to run the preload collar all the way to the end of its range, or the truck still bottoms out on moderate hits, the spring is too soft. On the flip side, if washboard still feels harsh even with damping opened up, the spring is too stiff.
Any time you add armor, larger tires, or bed gear, check the setup again in its normal loaded condition. That means full fuel, tools, and passengers included.
Key Takeaways
After the test loop, keep it simple: change only what the symptoms point to. Let the truck’s behavior tell you what to adjust next.
FAQs
How do I calculate wheel rate from spring rate?
To calculate wheel rate from spring rate, you need the suspension’s wheel-to-spring motion ratio and any leverage change through travel. Wheel rate = spring rate × (motion ratio)^2.
If you define the ratio the other way around, use the inverse. The sources provided don’t include the ratio or leverage math needed to work out an LSK-specific number.
When should I choose progressive springs over linear springs?
Choose progressive springs if you want a smoother feel over small bumps but more support as the suspension moves deeper into its travel.
That makes them a good fit for mixed-use trucks. You get better comfort for day-to-day driving, but you also get extra resistance when the truck is carrying heavier gear or dealing with rough, uneven ground.
Compared with linear springs, progressive springs get stiffer as they compress. In plain English, that can help with body roll and reduce bottoming out when the truck’s weight changes, like when you add armor, tools, or bed gear.
Do I need new spring rates after adding bumpers, tires, or bed gear?
Yes. Adding bumpers, larger tires, or heavy bed gear changes your vehicle’s weight and balance. And that changes how the suspension works.
In many cases, you’ll need a new spring rate to keep the ride height where it should be, help with bottom-out control, and keep bump compliance from feeling off. If you’re tuning for desert, trail, or mixed-use driving, factor in any added armor and gear from the start.
Leave a Reply